Round Corner Cutter Is A Print Shop Staple Most offices and print shops can use a round corner cutter. It’s like a crescent wrench in
Continue reading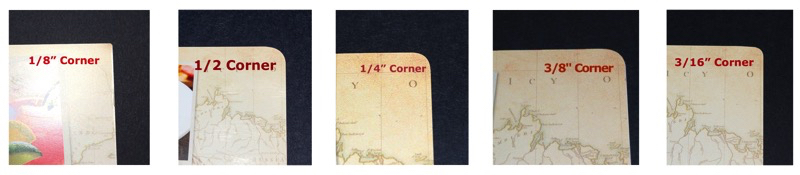
Round Corner Cutter Is A Print Shop Staple Most offices and print shops can use a round corner cutter. It’s like a crescent wrench in
Continue reading
Binding Machine Margins As more graphic designers are being trained for web production instead of print, they tend to forget the small details. Little things
Continue reading
A yard sign play an important part in spring. It’s the time of the year that people need to signs to direct traffic for their events
Continue reading
There are all kids of laminating film on the market today. You don’t have to just run gloss laminate. The challenge for most of your
Continue reading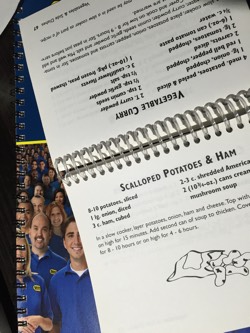
How to avoid waste in binding and print finishing. You may remember the late Steven Covey used to say about life, “Begin with the end
Continue readingAvoid wasting money by knowing a bit about binding and print finishing In producing sizable publications, what happens in the last step — the print
Continue reading