Binding Machine Margins As more graphic designers are being trained for web production instead of print, they tend to forget the small details. Little things
Continue reading
Binding Machine Margins As more graphic designers are being trained for web production instead of print, they tend to forget the small details. Little things
Continue reading
As a printer, part of your job is to educate your customers how print finishing works. You should have a catalogue of design recommendations for
Continue reading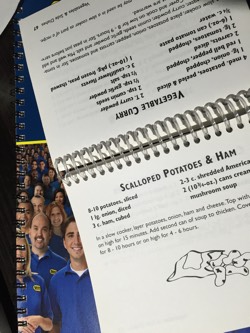
How to avoid waste in binding and print finishing. You may remember the late Steven Covey used to say about life, “Begin with the end
Continue readingCost, content and target audience should influence your choice of print finishing and print binding. In today’s media market, every publication you print has to
Continue readingAsk any manufacturer or reseller of spiral wire or plastic coil binding equipment about the advantages of their finishing equipment, and they’ll go for hours.
Continue readingMost people can deduce from the name that a magalog is a combination of a magazine and a catalog. That’s true, but I also like
Continue readingIt’s hard to beat perfect binding for a look and feel of completeness and professionalism. It just seems to say, the content in here is
Continue reading